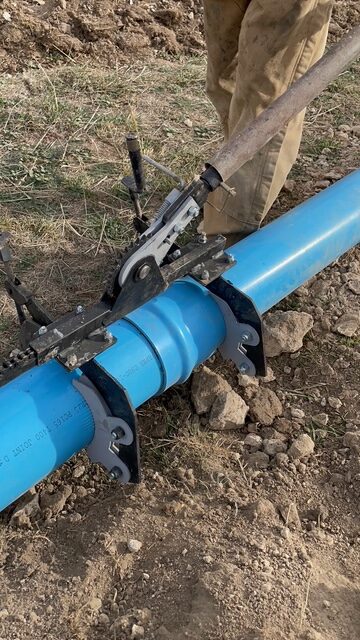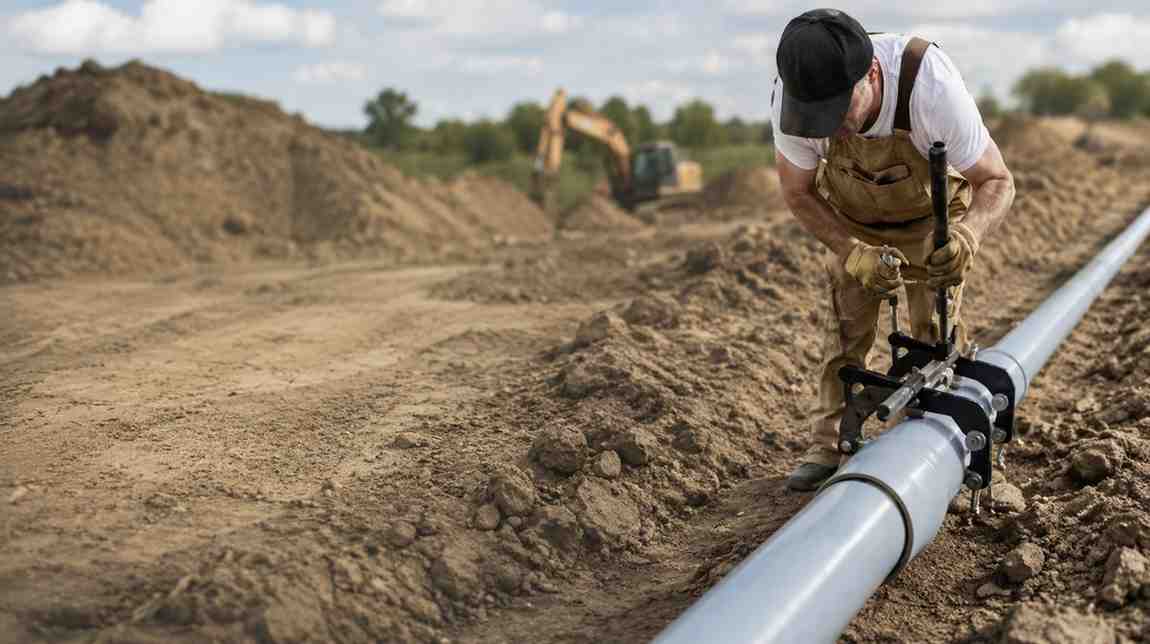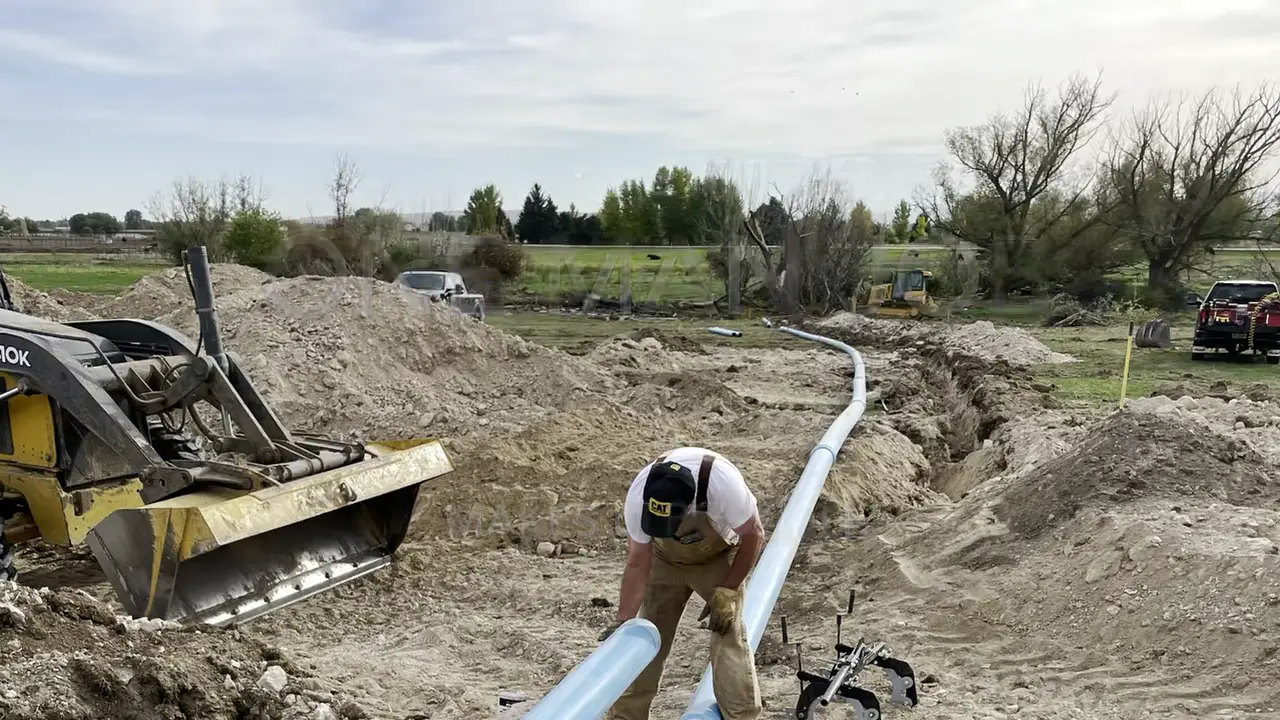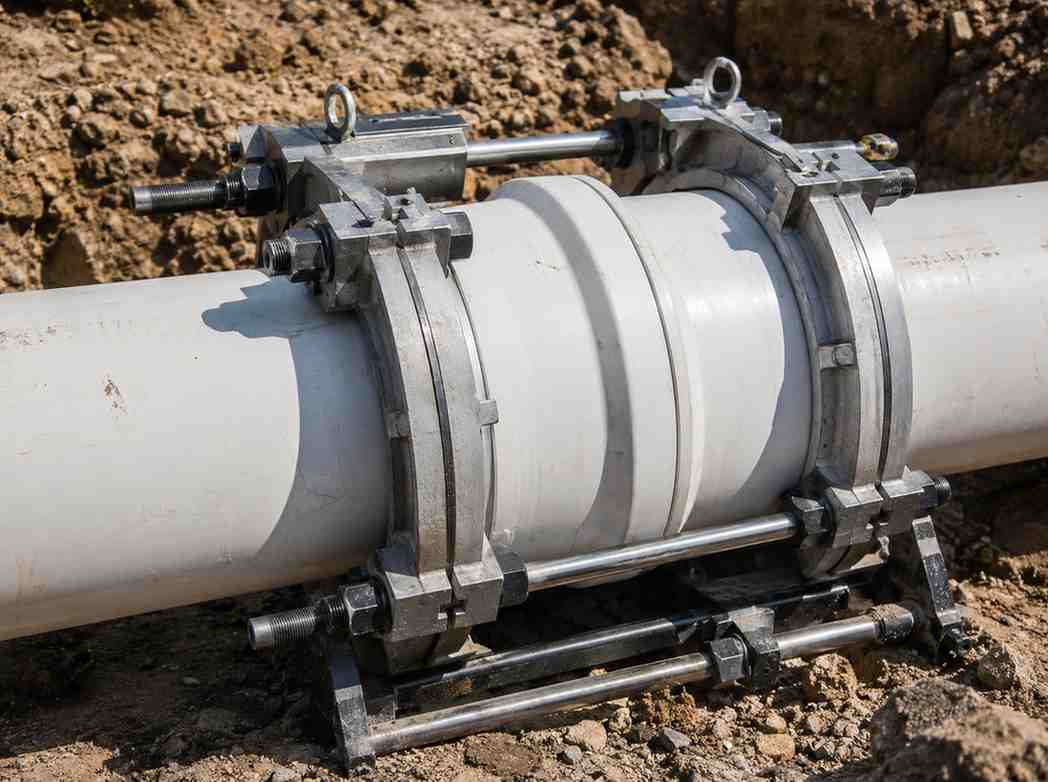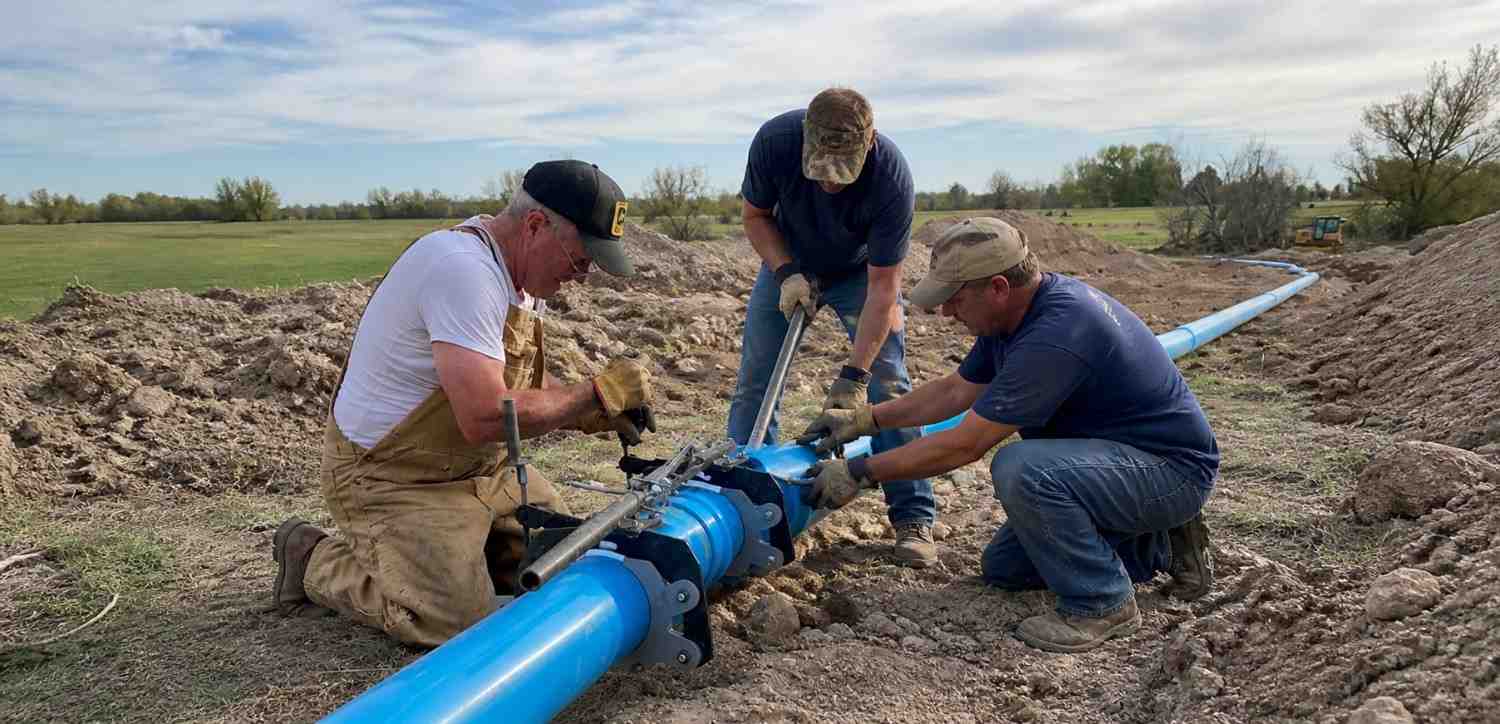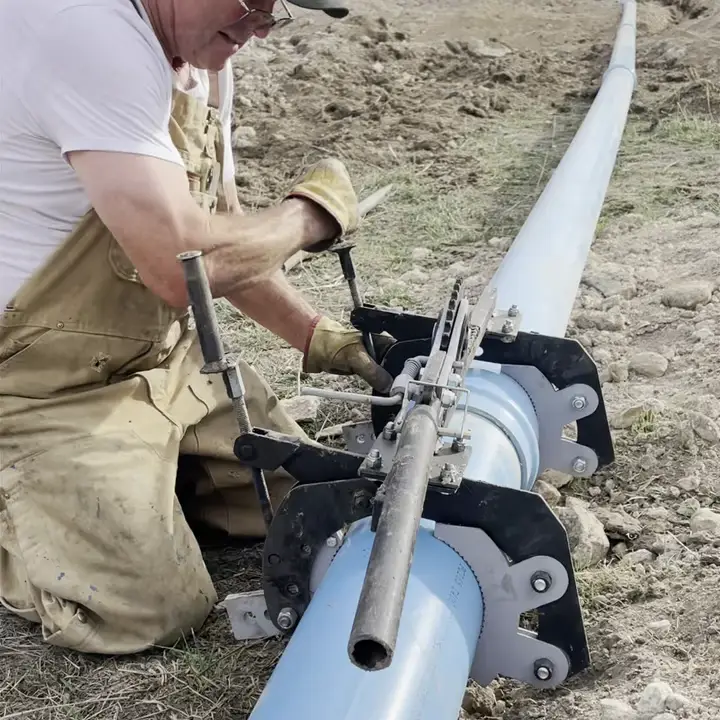
A wall beside the pipe, overhead services, or a crowded equipment area can leave your crew with little room to work. Before joining industrial PVC pipe, check whether you can position the tool, move the pipe into the joint, operate the handle, and remove the equipment afterward.
You also need access to prepare the surfaces and inspect the connection. At The Pipefitter, we recommend checking that complete sequence before selecting your industrial pipe fitting equipment. Finding an obstruction before assembly gives you time to adjust the setup.
How Much Working Space Do You Need Around the Joint?
Check the space your crew and equipment need throughout assembly. A tool may fit around the pipe while a nearby wall blocks its handle or prevents removal after joining.
Check space around the pipe
Measure from the pipe’s outside surface to nearby walls, supports, and other obstructions. Include anything above or below the joint that could restrict access.
Can you position and release the clamps? Can you reach the surfaces that need cleaning, primer, cement, or lubricant? Leave room to see the connection while you work.
Check movement along the pipe
The pipe needs room to travel into the fitting or bell, the enlarged receiving end. Fixed supports or connected equipment may prevent that movement.
| Space to check | What you need to confirm |
| Around the pipe | You can position and release the clamps |
| Along the pipe | The pipe can reach its specified insertion depth |
| Around the handle | You can operate the selected drive |
| Beside the finished joint | You can inspect the connection and remove the tool |
Confirm operating clearance with the equipment manufacturer for your exact configuration. A pipe-size rating does not establish how close to a wall you can work.
How Does the Joint Type Change Your Preparation?
Identify the joint type before arranging the work. Solvent-welded and gasketed connections require different preparation and insertion checks.
Solvent-welded joints
Solvent cement joins compatible plastic surfaces. Your crew needs access to prepare and coat the pipe end and fitting socket, then assemble the connection promptly according to the product instructions.
Check that you can reach all the required surfaces. Plan the fitting’s final direction before applying cement.
Gasketed joints
A gasket seals the connection between the pipe and its receiving end. Inspect the gasket, clean the joint surfaces, and apply the approved lubricant as directed.
Follow the pipe manufacturer’s insertion marks. Do not assume every gasketed connection should reach the back of the bell. Westlake’s guidance warns that over-insertion can damage the joint.
If you are buying high-performance pipe fittings, check their actual specifications and joining instructions. That description alone does not establish compatibility with your pipe or installation method.
How Do You Choose Pipe Joining Equipment for Limited Access?
Choose equipment that matches the pipe dimensions and gives your crew enough room to complete the joint.
Confirm pipe and clamp compatibility
Nominal pipe size is the size designation. Outside diameter is the actual measurement across the pipe. Check both when comparing heavy-duty pipe fitting tools.
Clamp shoes grip the pipe. The yoke forms part of the frame that carries the clamps. Confirm that these components suit your pipe and selected assembly.
For example, our MD lever-drive assembly specifications list a 13-inch yoke with a maximum opening of 9 inches. That opening describes capacity; it does not tell you the clearance needed beside a wall.
Check the complete working setup
When assessing heavy-duty pipe fitting solutions, include the drive, compatible clamps, supports, and operating space in your comparison.
Mechanical assistance can help maintain alignment during large-diameter assembly. However, you still need room to position, operate, and release the equipment. Weld-On recommends a mechanical pipe puller for large-diameter solvent-welded joints.
Explore our industrial pipe fitting equipment and confirm the configuration against your site measurements before ordering.
What Should Your Crew Prepare Before Joining Starts?
Organize the work so nobody has to search for materials or resolve access problems after preparation begins.
- Confirm the fitting direction. Make sure the planned position matches the layout.
- Arrange pipe support. Decide how the crew will keep the components steady and aligned.
- Rehearse the setup. Check tool placement, available movement, and removal before applying joining materials. Do not force an uncemented joint together.
- Position supplies. Keep your industrial pipeline installation tools, preparation materials, and inspection aids within reach.
- Assign tasks. Establish who prepares surfaces, handles the pipe, operates the tool, and checks insertion.
Allow enough people for the complete procedure. One-person tool operation does not mean one person can handle every installation task. Weld-On’s large-diameter guidance calls for sufficient crew support during preparation and assembly.
For solvent welding, arrange adequate ventilation and keep ignition sources away. Follow the product safety instructions and site procedures before opening primer or cement.
What Should You Do If the Planned Setup Will Not Work?
Resolve the access problem before beginning the joint. Additional force cannot create missing movement space.
- The handle hits an obstruction: Ask about an approved tool configuration or revise the working position.
- The pipe cannot move far enough: Review the assembly sequence or connection method with the responsible installer or designer.
- Preparation surfaces remain out of reach: Improve access before applying joining materials.
- The finished connection will trap the tool: Change the setup before assembly.
Any revised connection method must suit the piping system and project requirements.
If both pipe ends are fixed, establish how the connection can physically assemble before selecting a stronger tool. If unexpected resistance occurs during joining, stop and check alignment, obstructions, component compatibility, and the manufacturer’s instructions.
What Should You Send Us Before Ordering Your Equipment?
When contacting industrial pipe fitting equipment suppliers, send measurements alongside photos. Photos alone may not show the available clearance accurately.
For an equipment enquiry with us, include:
- Pipe size, outside diameter, and specification.
- Joint type and fitting details.
- Measurements around and along the pipe.
- Whether either pipe section can move.
- Existing tool and clamp details.
Contact The Pipefitter with this information to discuss your equipment configuration and required components before placing an order.
What Else Should You Know Before Starting?
Can I use the same clamp shoes for Schedule 40 and C900 pipe?
Do not assume compatibility from nominal size. Confirm the actual outside diameter and the clamp shoes’ specified application with the equipment manufacturer before using the same set.
What additional parts should I check before ordering an assembly?
Check whether the listing includes compatible clamp shoes, support legs, and other components your setup requires. Our MD lever-drive assembly, for example, excludes clamp shoes and support legs.
Is a ratchet drive or lever drive better in a tight space?
Compare the operating movement each specific assembly requires. Ask us to confirm suitability against your measurements; the drive name alone does not establish which configuration will fit.
Can I shorten a tool handle to make it fit?
Do not modify the handle without the manufacturer’s approval. Ask about an approved configuration for your available space before changing any component.
Can I move a solvent-welded pipe section immediately after assembly?
Follow the cement manufacturer’s handling instructions. Initial set and full cure are different stages. Pipe size, temperature, and other conditions affect the required waiting time.
Does a joint that looks seated still need testing?
Yes. Visual inspection does not replace the project’s required testing. Follow the system instructions, including the specified curing time before testing solvent-welded joints.