When it comes to PVC pipe assembly, having the right tool can make all the difference. Whether you’re tackling a simple repair or a large-scale project, precision and efficiency are key. The Pipefitter offers a single, innovative tool designed specifically for PVC pipe assembly, combining versatility and reliability to meet the needs of professionals and DIY enthusiasts alike.
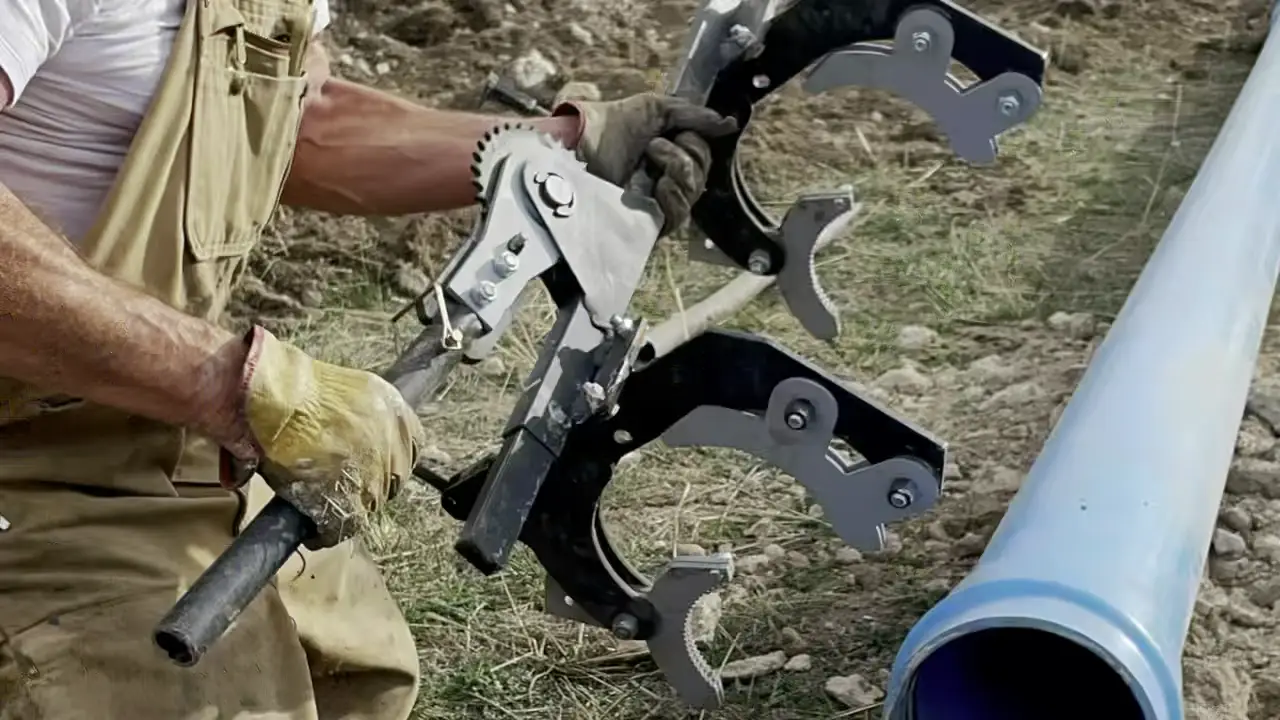
Step 1: Get to Know The Pipefitter Tool
The Pipefitter’s PVC pipe assembly tool is engineered to simplify the installation process while ensuring high-quality results. This multi-functional tool is ideal for:
- Aligning Pipes: Ensures accurate positioning for leak-proof connections.
- Securing Fittings: Provides the grip and stability needed during assembly.
- Enhancing Efficiency: Speeds up the installation process without compromising on quality.
Its durable construction and user-friendly design make it an indispensable asset for both residential and industrial applications.
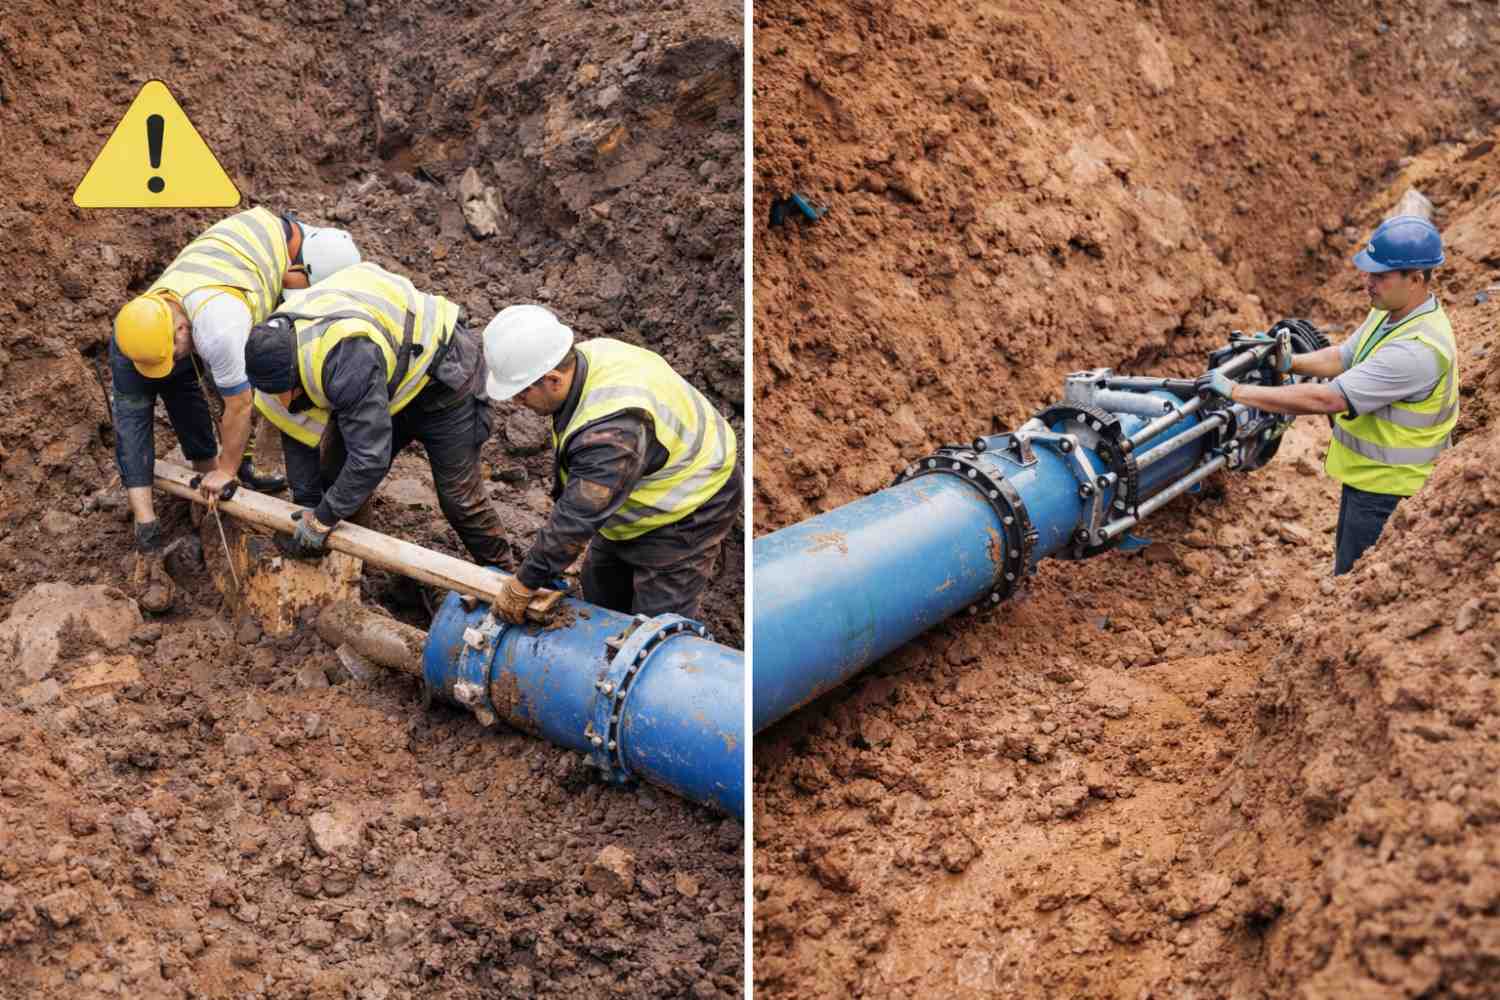
Step 2: Preparing for Installation
Proper preparation is essential for a smooth assembly. Follow these steps before using The Pipefitter tool:
- Inspect Your Materials: Check the pipes and fittings for cracks or defects.
- Measure and Mark: Accurately mark the cutting points to avoid errors.
- Clean the Surfaces: Ensure the pipe ends are clean and dry to enhance adhesive bonding.
Taking these preparatory steps ensures that the assembly process is seamless and efficient.
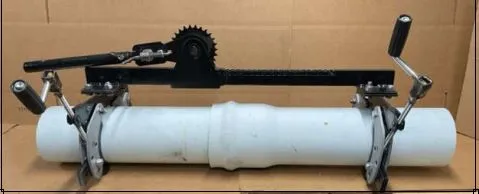
Step 3: Using The Pipefitter Tool
This tool is designed to streamline the key steps in PVC pipe assembly:
- Aligning the Pipes:
- Position the pipes and fittings together as per your layout.
- Use The Pipefitter tool to maintain perfect alignment, ensuring no gaps or misalignment.
- Securing During Adhesive Application:
- After applying PVC primer and cement, use the tool to hold the pipes and fittings firmly in place.
- The secure grip prevents movement while the adhesive sets.
- Testing and Adjustments:
- Once the adhesive has cured, use the tool to check the alignment and make any necessary adjustments.
This step-by-step approach ensures strong, reliable connections that stand the test of time.
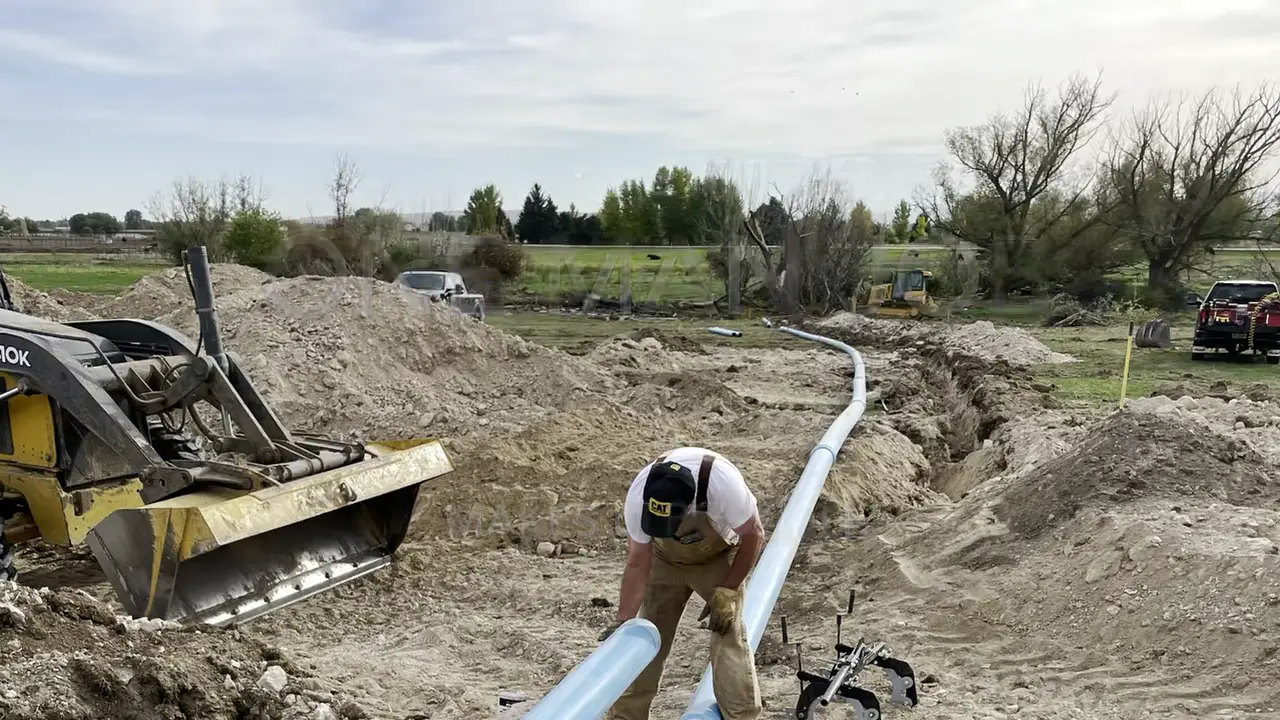
Step 4: Final Testing
After the assembly is complete, it’s time to test the system:
- Check for Leaks: Run water through the pipes to identify any weak points.
- Inspect the Alignment: Confirm that all connections are properly aligned.
- Make Adjustments: If needed, use The Pipefitter tool for quick realignments.
This final step is crucial for ensuring the long-term durability of your installation.
Why Choose The Pipefitter Tool?
The Pipefitter’s tool is more than just an accessory—it’s a game-changer for PVC pipe assembly. Here’s what sets it apart:
- Durable Construction: Built to withstand tough working conditions.
- Ease of Use: Intuitive design makes it accessible for users of all skill levels.
- Precision: Ensures professional-grade results every time.
By offering a single, all-in-one solution, The Pipefitter simplifies the challenges of pipe assembly, making it a preferred choice for professionals and hobbyists alike.
Conclusion
Assembling PVC pipes doesn’t have to be a hassle. With The Pipefitter’s innovative PVC pipe assembly tool, you can achieve perfect alignment, secure connections, and lasting results with ease. Whether you’re a seasoned contractor or a weekend warrior, this tool empowers you to tackle any project confidently.
Ready to transform the way you work? Explore The Pipefitter tool today and experience the difference in quality and efficiency!