When it comes to joining PVC or plastic pipes, small missteps can lead to big problems—leaks, joint failure, rework, or worse. Whether you’re working on a plumbing system, irrigation line, or industrial setup, checking the right things before and after making a pipe joint is what separates a solid install from a future problem.
Here’s a practical checklist every installer, contractor, or site lead should keep in mind.
Before the Joint: What to Confirm
1. Pipe Ends Must Be Clean and Damage-Free
Start with a close look at both the spigot and bell ends. Dirt, grit, or even a small chip can compromise the bond. Use a clean, dry cloth, and make sure nothing is interfering with surface contact. If you’re dealing with recycled or cut sections, inspect for micro-cracks, especially around the edges.
2. Dry-Fit the Pipes
Before applying any cement or lubricant, check if the joint seats correctly. A dry-fit helps you identify alignment issues early. Pipes should fit snugly without excessive force.
3. Mark Insertion Depth
Measure and mark the recommended insertion depth on the spigot. This ensures you know when the joint is fully seated later. Manufacturers often specify this depth, and hitting it consistently prevents both leaks and over-insertion.
4. Apply Lubricant or Cement Correctly
For gasketed joints, apply lubricant only to the spigot, not inside the bell. For solvent welds, evenly coat both surfaces with primer and cement. Uneven application leads to weak bonds and messy installs.
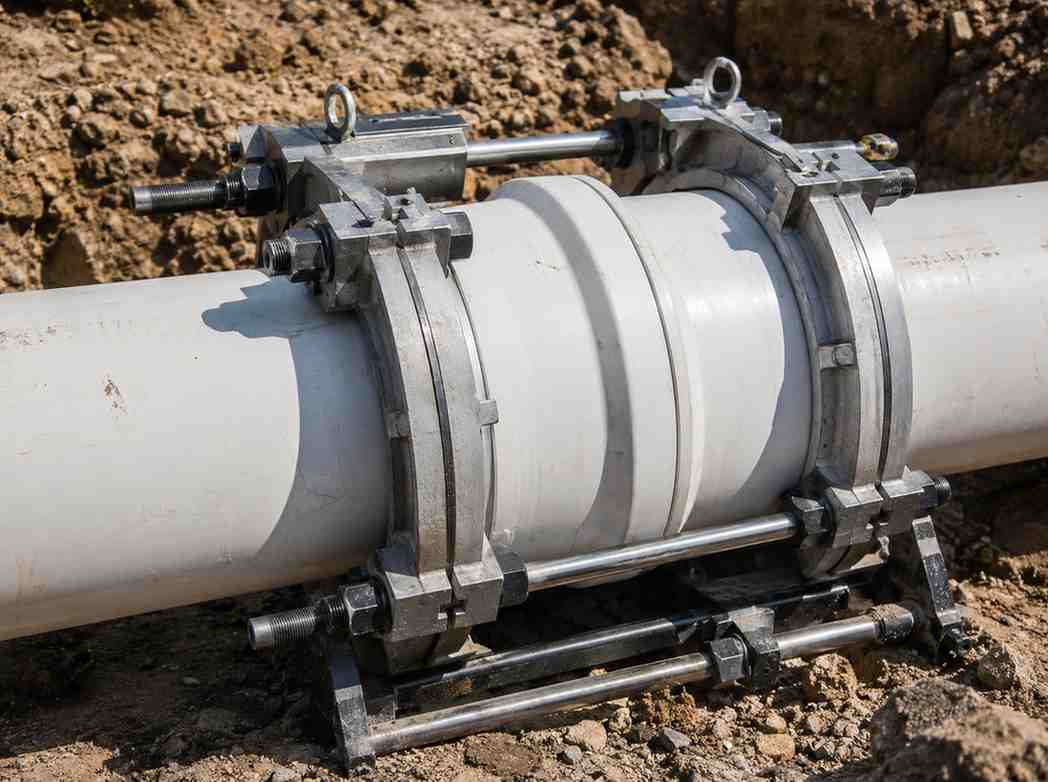
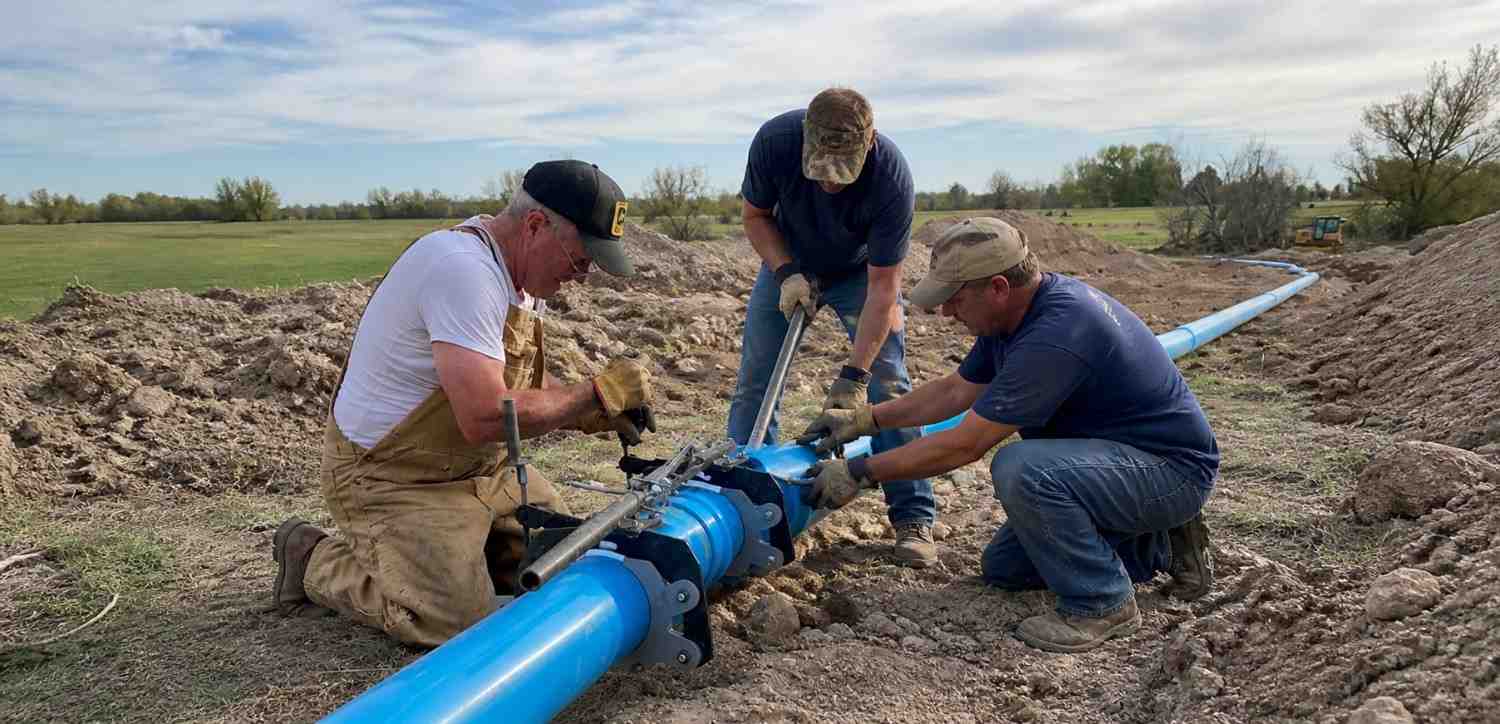
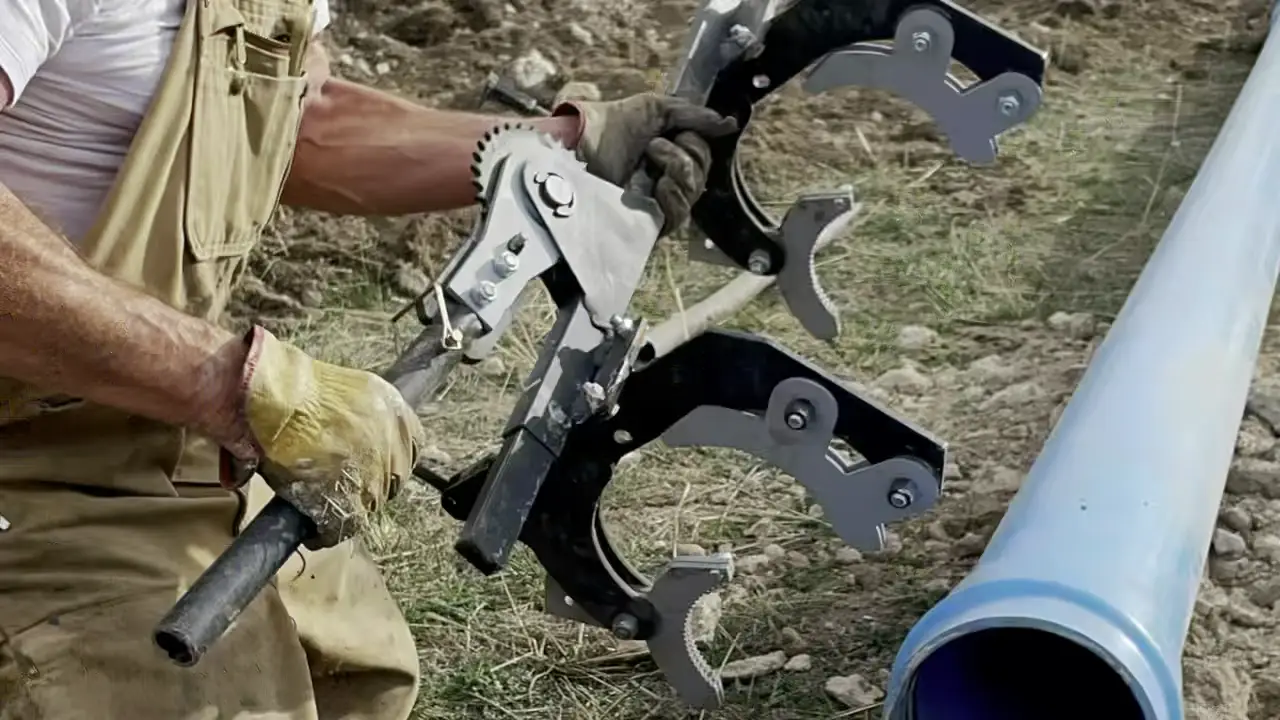
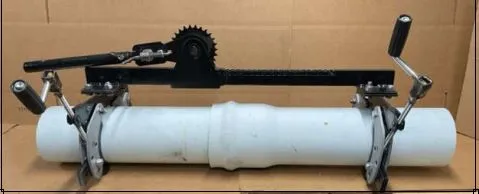
5. Use Proper Clamping or Insertion Tools
Manual force is inconsistent and risky. A mechanical pipe-joining tool helps apply even, controlled pressure. Make sure clamps are positioned correctly—one behind the bell and one on the spigot—before you engage the ratchet or press.
After the Joint: What to Inspect
1. Check Full Insertion
Your depth mark should line up exactly at the edge of the bell once the joint is complete. Anything less risks leaks. Anything more could mean the spigot is bottomed out—potentially cracking under pressure.
2. Confirm Proper Alignment
Even if the joint is sealed, an angled or misaligned pipe will create stress over time. Step back, inspect visually, and adjust immediately if things are off. Once the cement sets, there’s no going back without a plastic pipe fitting removal tool.
3. Wipe Excess Cement or Lubricant
Leftover residue isn’t just messy—it can weaken seals or attract dirt. Wipe down joints right after coupling to keep things clean and professional.
4. Hold Until Bond Sets
Too many failures happen because people move on too soon. Especially with larger pipe sizes, give the bond time to grab. Check manufacturer guidance, but a general rule is to wait at least 30 seconds before letting go or repositioning.
5. Pressure Test or Visual Recheck
If the job calls for it, pressure test after curing. Otherwise, recheck every joint visually before covering or burying pipe runs. And if you ever need to redo a connection, a quality PVC fitting removal tool can save the pipe without damaging it.
Common Mistakes That Cost Time and Money
- Forgetting to mark the insertion depth
- Rushing cement or lubricant application
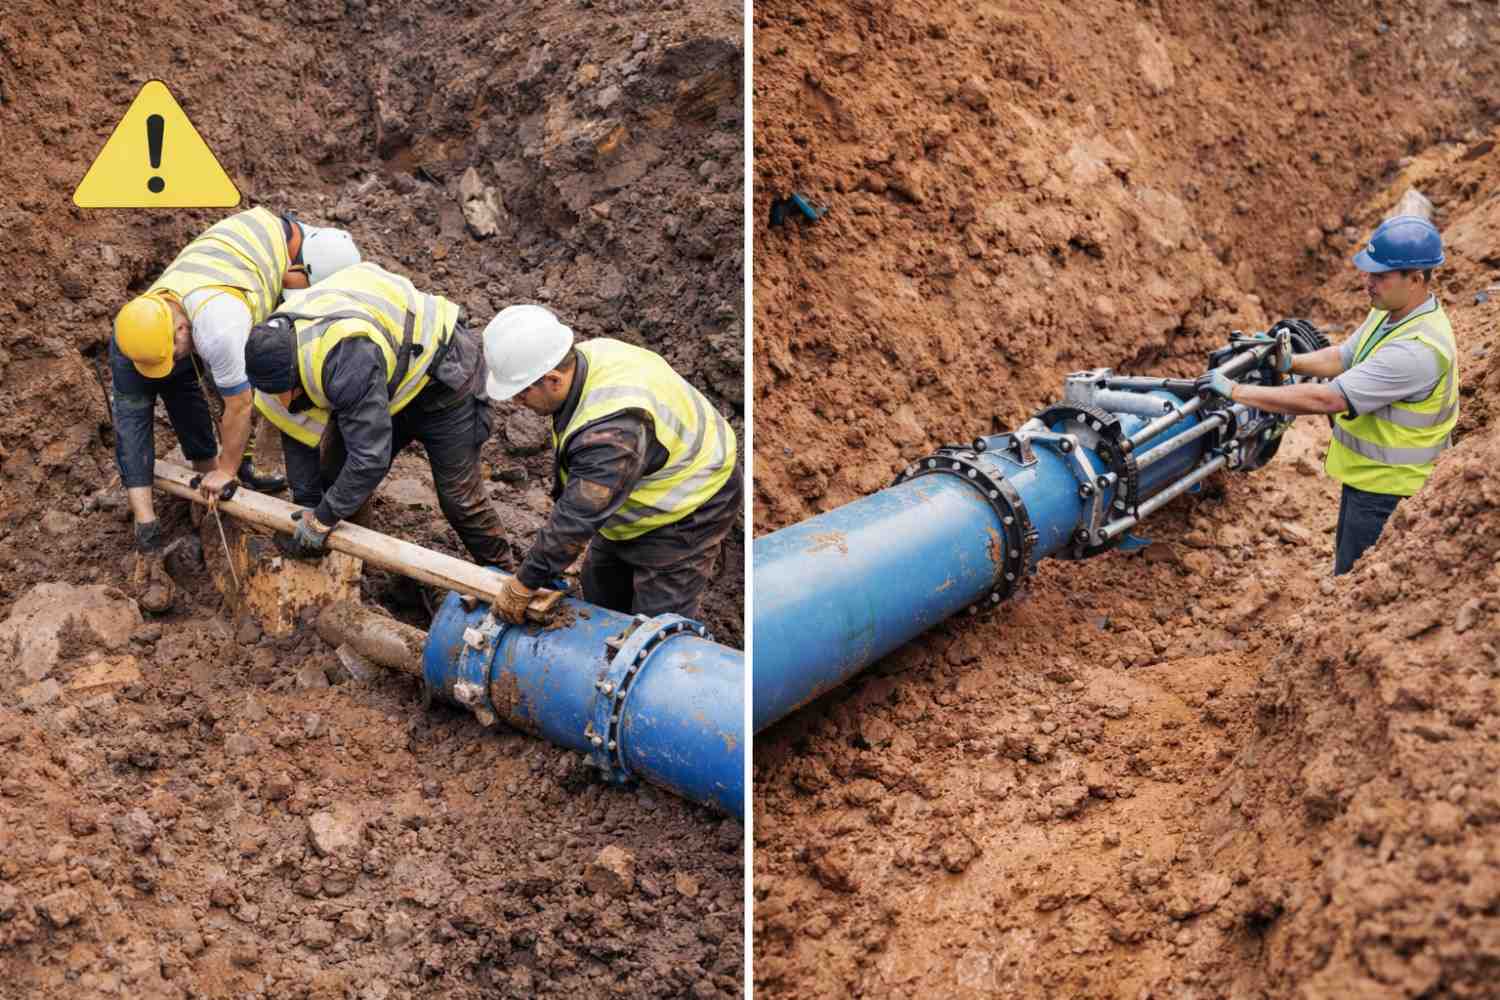
- Using bare hands to force tight joints
- Failing to clamp both ends properly
- Using an incorrect or makeshift plastic pipe fitting removal tool that damages the pipe
Each of these issues is avoidable. All it takes is a simple, consistent process.
Best Practices for Long-Term Success
- Always verify clamp position and alignment before applying force
- Stick to manufacturer specs—don’t guess on insertion depth
- Use the correct tools for both joining and removing pipes
- Keep spares of essential items on hand, including a proper PVC fitting removal tool for maintenance or emergency work
Conclusion
Every pipe joint is an opportunity to get it right—or deal with it later. With a bit of care and the right process, you can avoid the most common mistakes and save serious time on rework or repairs.
At The Pipefitter, we build tools designed to simplify and strengthen this process, whether you’re joining new pipe or separating old ones. If you’re ready to make your next job safer, faster, and more reliable, explore our lineup or talk to our team. We’re here to help you do the job right the first time.